
Disclosure: As an affiliate partner and Amazon Associate, I earn from qualifying purchases.
My step-by-step eyeliner method for mature eyes
Eyeliner can become harder to apply as our lids get softer, more textured, or a little more hooded. Changes in vision, watery eyes, contacts, or shaky hands can make it trickier too.
I’ve dealt with several of those problems myself. What helps me most is pressing eyeliner into the lash line instead of trying to draw one perfect line.
On this page, I’ll show you exactly how I apply gel and pencil eyeliner on my own 60+ eyes, with step-by-step photos and simple tricks for getting a softer, more even result.
This is the hands-on tutorial. For help choosing colors, placement, or the right type of liner, start with my eyeliner makeup guide for older women.
Let’s make eyeliner easier again.
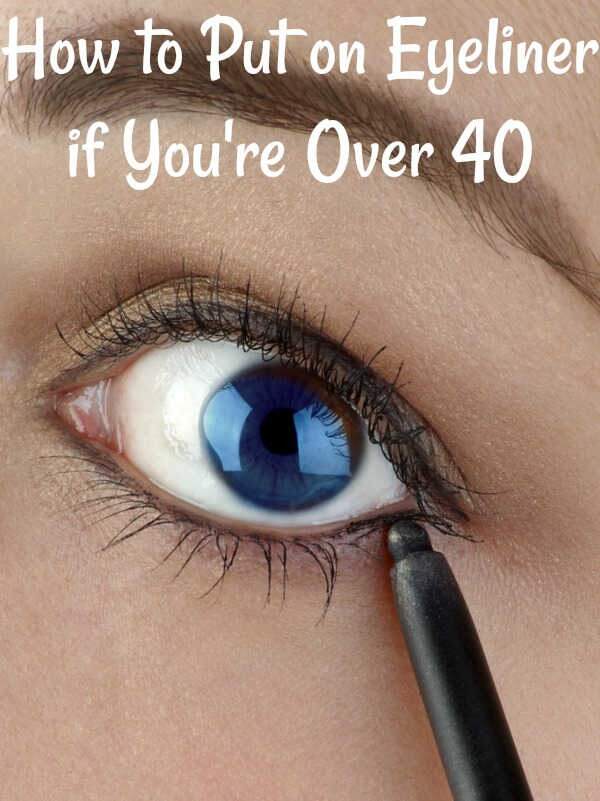
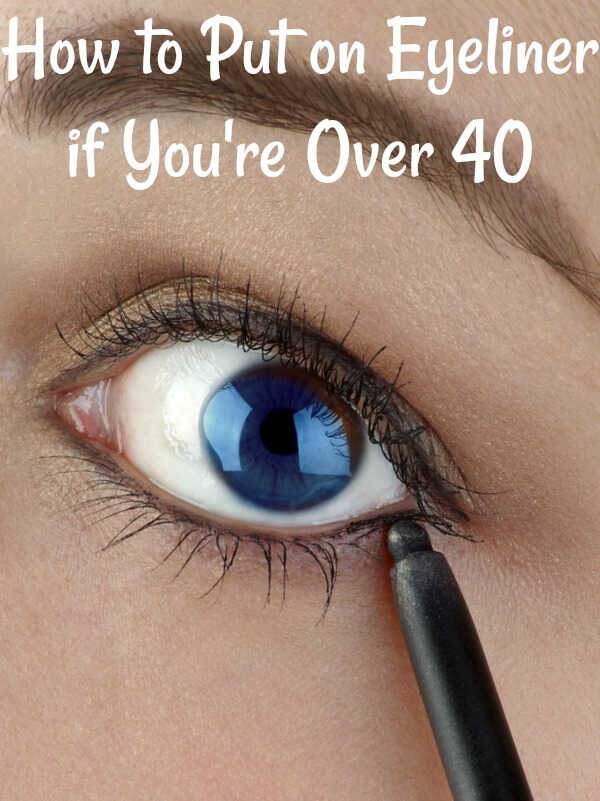 How to Apply Eyeliner Step by Step with Pictures. This is one of my most-shared eyeliner tutorials for women over 40—here’s how to make it work for you…
Below, I’ll walk you through the exact gel and pencil methods I use, plus a few easier options for shaky hands, poor close-up vision, and mature lids.
Start with concealer for longer-lasting eyeliner
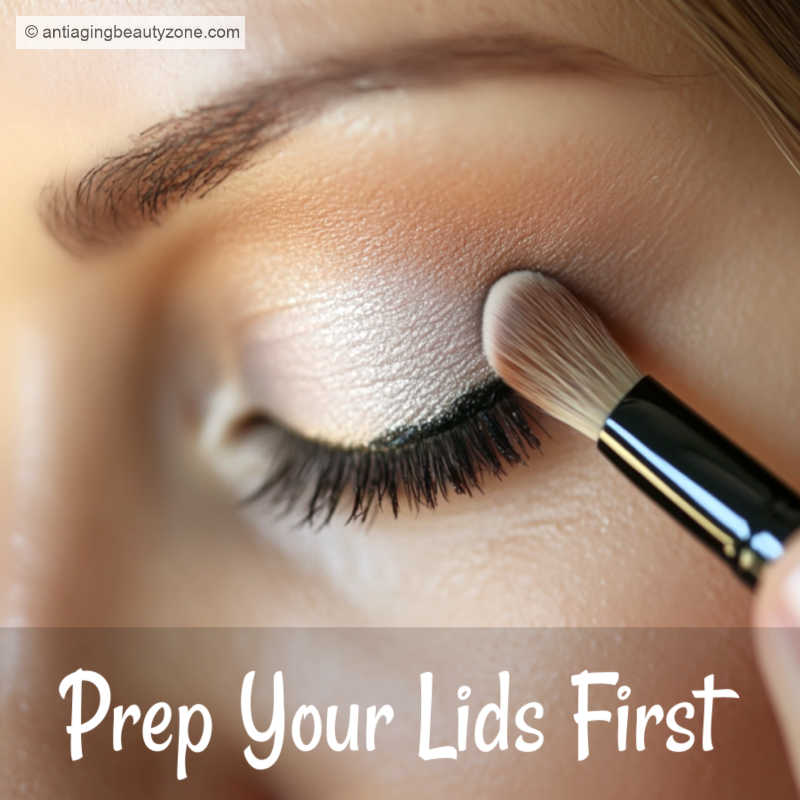
A tiny amount of concealer or eye primer can help eyeliner go on more smoothly and stay put longer—especially on mature or crepey lids.
It helps by:
- evening out the lid
- giving liner a little grip
- reducing skipping over fine lines
- cutting down on transfer if your lids are hooded
I usually prefer concealer instead of foundation on my lids. Foundation can feel heavier and crease more, while concealer gives me just enough of a base without looking thick.
If your eyeliner still skips, smudges, or looks harsh after prepping your lids, my Eyeliner Tips for Aging Eyes page has more quick fixes.
Is gel or pencil eyeliner better for older eyes?
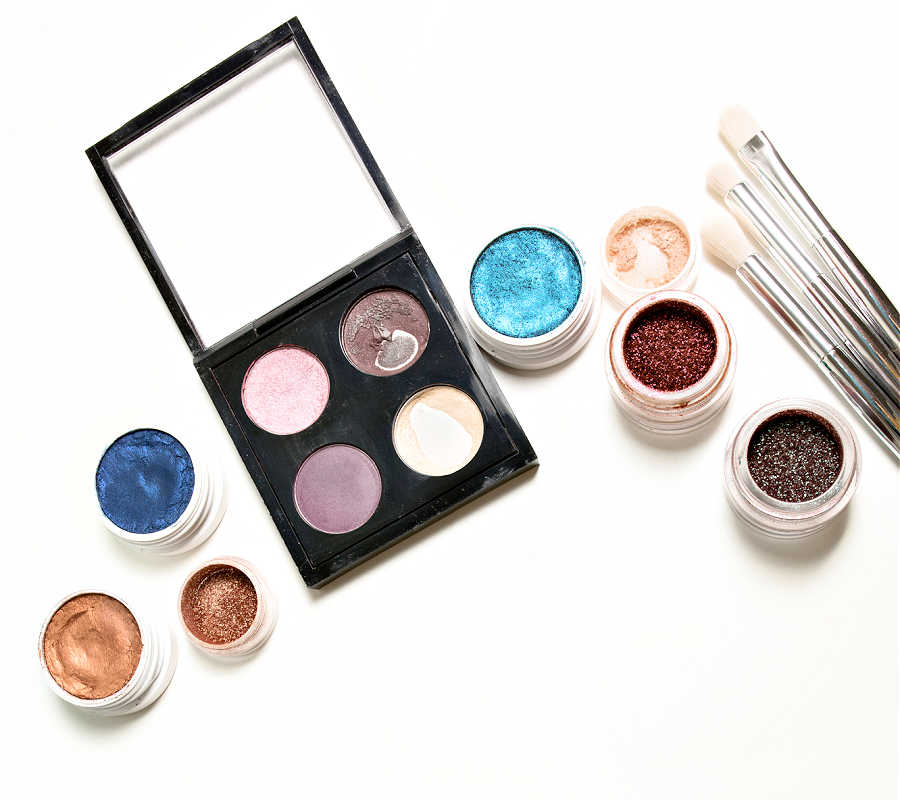
Both can work well. I use gel when I want the smoothest glide and a little more staying power, and pencil when I want something quick, soft, and easy to control.
Try gel if your liner skips or drags. A small angled brush lets you press the color into the lash line instead of pulling it across textured skin.
Try pencil if you want a softer everyday look. A waxy pencil is forgiving, easy to smudge, and works well with short dashes instead of one long line.
Some days I use gel, other days I use pencil. It really depends on how my lids feel and how much time I have.
Next, I’ll show you exactly how I apply both.
Need help choosing a product? See the eyeliners I’ve tested on mature lids.
How to apply gel eyeliner on mature eyes
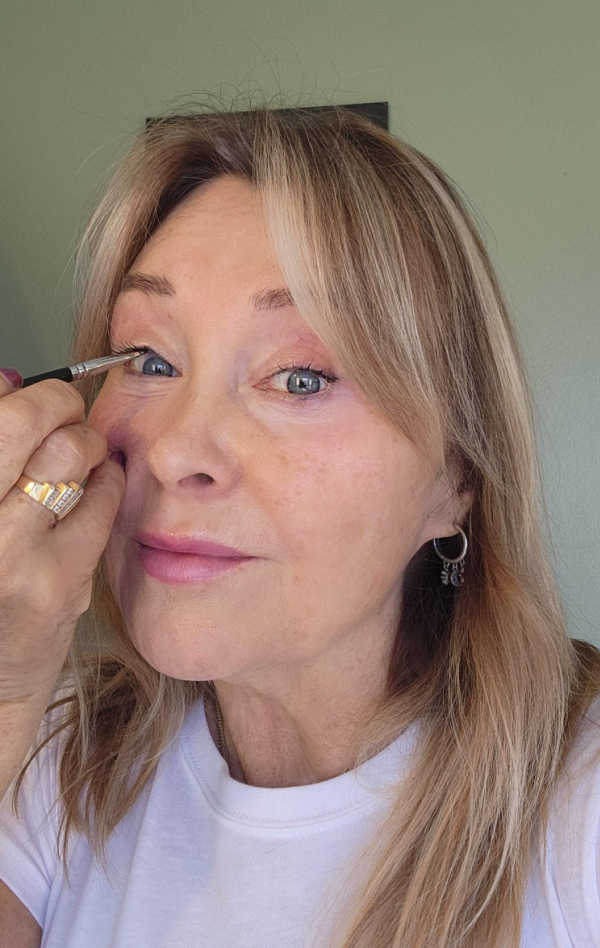 Pressing gel liner into the lash line with a wide angled brush can be done with one hand—no perfect line needed.
Gel liner is one of the easiest formulas for mature eyes because it glides instead of skipping over fine lines. With a light hand and the right brush, you can get soft definition without tugging or harsh edges.
Here’s exactly how I apply it on my own 60+ eyes.
What I use:
I use Mommy Makeup’s water-proof gel liner with a wide, angled brush. It lets me press color right into the lash line instead of trying to draw a perfect line—which is much easier on textured lids.
1. Load your brush lightly
Dip a thin brush into the gel and wipe off the excess on the jar edge. A tiny amount is all you need.
Because the brush is wider and angled, you’re pressing color into the lash line — not trying to draw a thin, perfect line.
2. Steady your hand
Rest your elbow on the counter or mirror frame to reduce shaking. I like to use what I call the “Linda’s Elbow-Support Method“. This is where I support my eyeliner hand at the elbow with my other hand. This added support helps keep the brush from wobbling when applying liner or any eye makeup. Personally, for me, this works better than the pinky method.
 Linda’s Elbow-Support Method: I support my eyeliner arm at the elbow with my opposite hand for a little extra stability and control.
3. Start in the center of the lash line
Open your eye wide so you can see the base of the lashes, then press the brush right into the lash line. Because I use a wider angled brush, I’m pressing color into the lash line rather than trying to draw a thin, perfect line. It’s much easier to control!
4. Press and smudge into the lash line
Gently press the brush into the base of the lashes, then lightly smudge along the lash line as you go. There’s no need to draw a perfect line.
Below, Debra from Mommy Makeup demonstrates a similar technique on both the upper lash line and the upper waterline — you can skip the waterline if it’s not comfortable for you.
🎥 Watch: How to Apply Gel Liner
How to apply eyeliner when you can’t see well up close
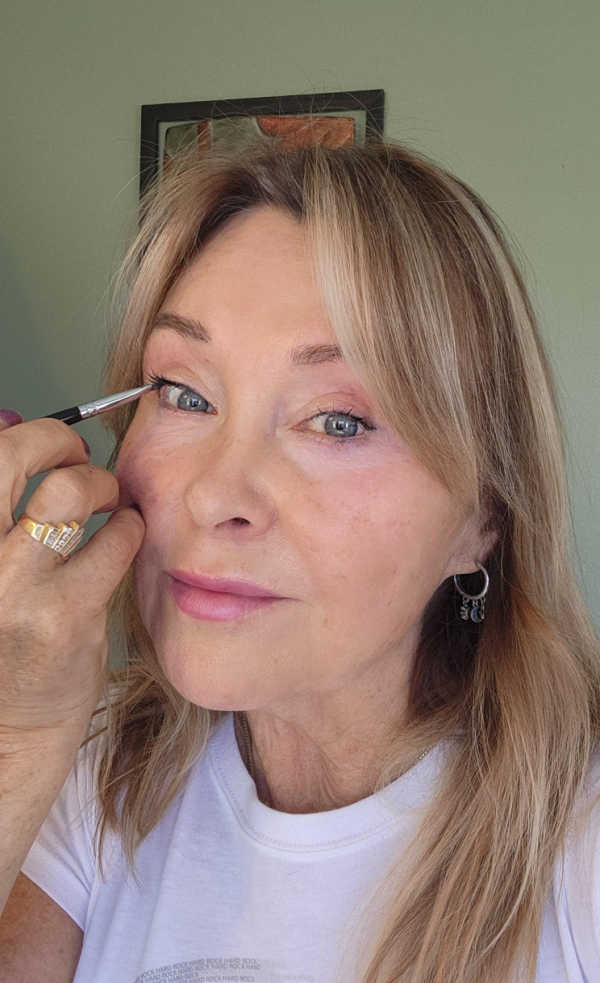 When I can’t see clearly up close, I keep the line thin and work in short sections.
If you struggle to see clearly in the mirror, this is much easier than trying to draw a straight line.
Dip a small angled brush into your gel liner, then press it right up into the base of the lashes and give it a tiny smudge. Move over a little and do it again.
Keep pressing and smudging your way across the lash line until you’ve covered as much of the eye as you want.
You don’t have to see well enough to draw a perfect line — you’re basically stamping the color into place.
How to apply pencil eyeliner on mature eyes
Pencil liner is a good option when you want something quick and easy to control. Instead of trying to draw one long line, I use short, gentle dashes along the lash line.
1. Warm up the tip
Rub the pencil on the back of your hand for a second so it glides smoothly. What I use: On most days I grab a waxy pencil (I use Maybelline) because it’s quick, forgiving, and easy to press into the lashes.
2. Anchor your elbow
Resting your elbow on the counter keeps your hand steady for a softer, cleaner line.
3. Start at the outer third
This gives lift and avoids crowding the inner corner (a common aging-eye issue).
4. Use tiny dashes
Short, gentle strokes look softer and give you more control than trying to draw one line.
ABZ Tip: If the pencil skips on crepey skin, apply a thin layer of cream shadow first — it grips the pigment and smooths the texture instantly.
A softer eyeliner color can make tired eyes look brighter without changing your whole technique.
I sometimes use deep green, bronze, or plum close to the upper lashes instead of flat black. The application stays the same, but the softer color can look fresher around mature eyes.
Want to see the difference? Here’s how hunter green eyeliner looks on my eyes.
Tightlining mature eyes: upper and lower waterline
Tightlining can be an easy way to define mature eyes without adding a heavy line across the lid.
I usually reach for a waxy gel pencil because it glides smoothly, lasts on the waterline, and doesn’t tug.
Here’s the exact method I use on my own mature eyes:
1. Start at the outer corner of the lower waterline
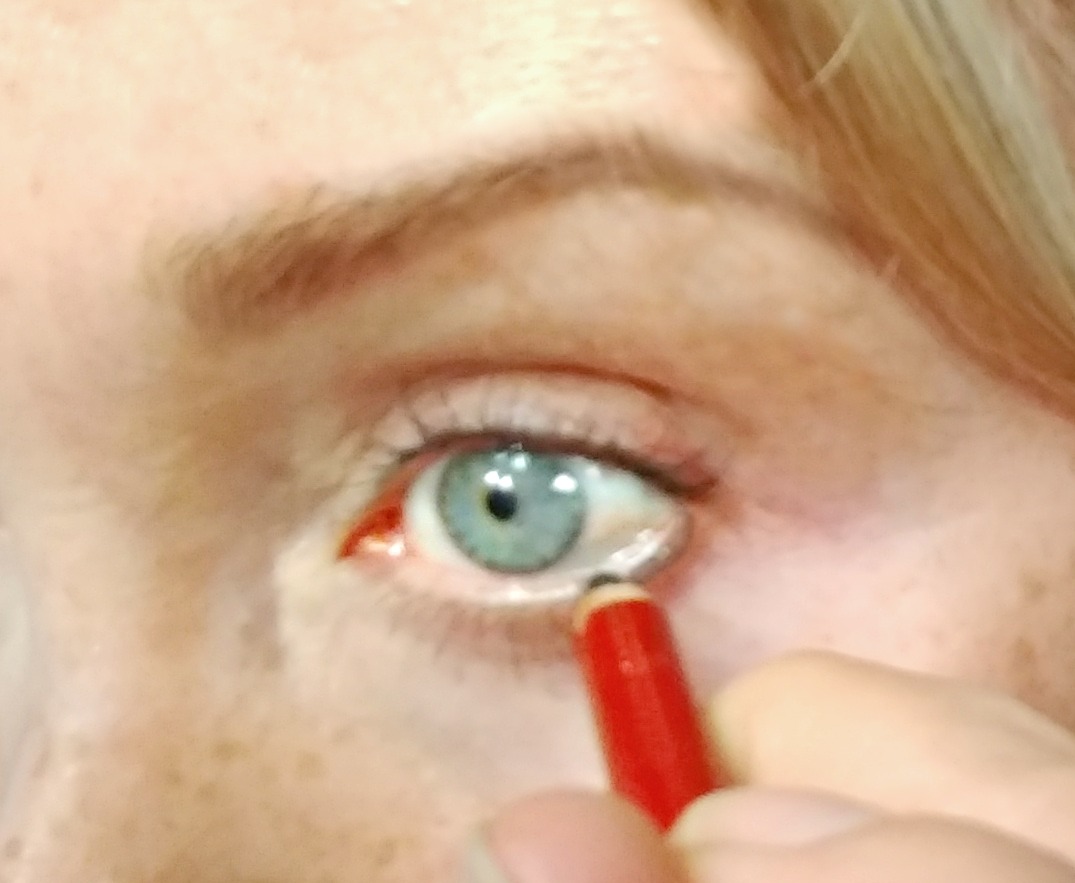
Gently line only the outer third of your lower waterline. This adds definition without closing off the eye.
Tips:
- Stick to brown, bronze, or taupe for soft definition
- Keep the line thin
- Smudge lightly if you want a natural finish
2. Stop before the inner corner
 How to use Maybelline gel pencil liner on the lower eyelid.
I usually stop around the center of the eye. Lining the inner corner can make eyes look smaller or more tired, especially on mature lids.
Upper waterline (tightlining) on mature eyes
Tightlining the upper lid can make your lashes look fuller. It works beautifully on mature eyes because it fills in the little gaps between lashes and gives instant definition.
Here’s how I do it on my own 60+ lids:
1. Start at the outer corner
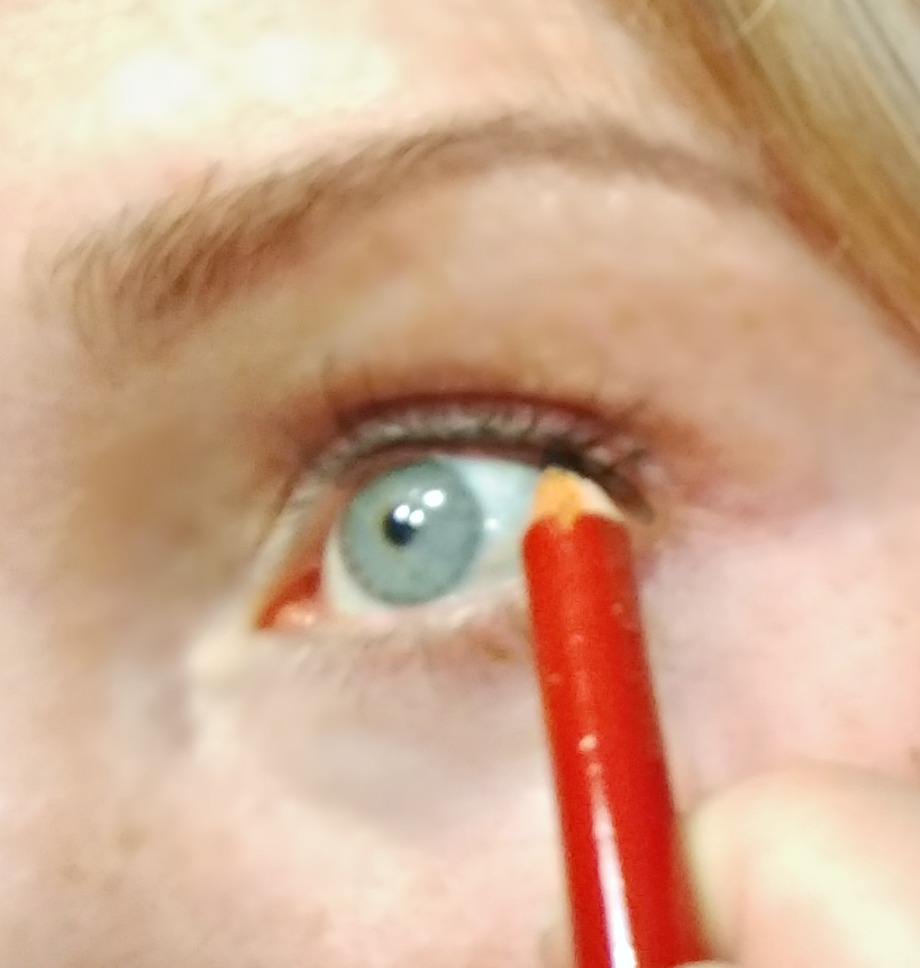
Gently lift the lid just enough to see the upper waterline. Place your pencil between the lashes, not above them on the eyelid.
2. Use tiny dashes
Instead of drawing a long line, use small, gentle presses or dashes along the upper waterline. This keeps the application controlled and prevents tugging—perfect if your lids are textured or sensitive.
3. Stop before the inner corner
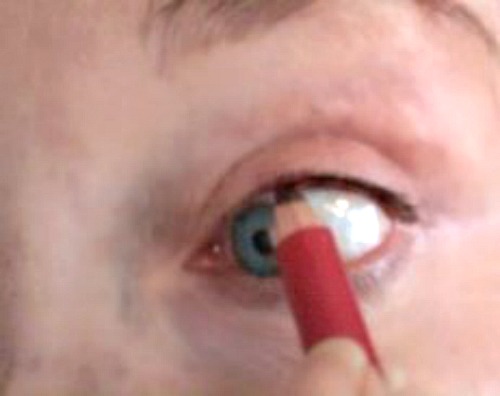 Lining my upper waterline makes my eyes look bigger and subtly fill in the lash line.
I only tightline to just past the halfway point. Leaving the inner third bare keeps the eyes looking open and prevents that “closed-off” look—especially helpful for smaller or hooded eyes.
Don’t want to line your upper waterline?
That’s okay. I don’t always line mine either. Another option is to apply the liner right above the upper lashes instead. You can do this with a pencil, or use gel liner with a small angled brush like I’m doing here.
 Here I’m pressing and lightly smudging gel liner just above my upper lashes instead of lining the upper waterline. You can use the same placement with a pencil too.
I’m using hunter green gel eyeliner here. I like it when I want definition without going as dark as black — see how hunter green looks on my mature eyes and why I use it.
This dark green shade can also make the eyes look a little brighter.
How to help eyeliner stay put
If your eyeliner melts or fades during the day, a waxier pencil or waterproof gel usually holds better than a very soft, creamy formula.
A light layer of concealer or powder on the lid can also help reduce transfer, especially if your lids are hooded or slightly oily.
For product recommendations, see Best Eyeliners for Aging Eyes page.
What not to use on your waterline if you wear contacts

If you wear contacts, soft kohl pencils and crayon-style liners may leave residue, transfer to the lenses, or fade quickly.
I do better with a firmer, waxy pencil or waterproof gel, especially when I keep the line thin and stop before the inner corner.
If your eyes are sensitive or tend to water, use less product and apply it only where it feels comfortable.
Need more guidance on choosing the right eyeliner for your eye shape and sensitivity? Visit my page: Choosing Eyeliner for Mature Eyes
My simple eyeliner kit: what I use
Mommy Makeup Waterproof Eyeliner Gel + small angled brush
- This lets me press color into the lash line without tugging or trying to draw one perfect line.
Maybelline eyeliner pencil (waxy formula)
- I use this for quick, everyday definition. It’s easy to control and forgiving on mature lids.
L’Oreal Voluminous Mascara + Primer Set
- The primer helps the lashes look fuller, and the mascara adds soft definition without weighing them down.
Final tips:
Start with a light base, then choose the method that feels easiest that day—gel for smoother glide or pencil for quick, soft definition.
If your hands shake or you can’t see well up close, pressing the liner into the lashes with tiny dashes is usually easier than trying to draw one perfect line.
For help adjusting placement to your eye shape, see my Eyeliner by Eye Shape guide.
A few small changes can make eyeliner much easier to apply on mature eyes.
FAQs: How to apply eyeliner
A:
Upper lids are almost always the most flattering, especially if you have smaller eyes or dark circles. If you want extra definition, lightly line the outer third of your lower lash line — but stop there so the eye stays open and lifted.
A:
Don’t try to draw one perfect line. Use tiny dashes along the lash line and let them connect naturally. Warm up your pencil on your wrist so it glides easier over mature skin.
A: Stick with firmer, waxy pencils or waterproof gel formulas. They stay put better and are less likely to leave residue on your lenses. Avoid soft kohl pencils along the waterline — they smudge easily and can transfer to contacts.
A: Keep the line soft and thin. A smooth, waterproof gel works great because it glides without tugging. Apply with light pressure and press the color into the lash line instead of pulling your lid tight.
A: Shades like deep green, plum, bronze, and navy brighten and lift brown eyes instantly. They add contrast without the harshness of straight black.
A:
A wax-based pencil or a slow-drying gel liner. Both give you time to correct mistakes, and they press nicely into the lash line without skipping or tugging.
Answer:
Use the “press, don’t draw” method. Press the pencil into the base of the lashes in tiny stamps instead of trying to draw a full line. It’s the easiest approach if your vision isn’t perfect or your hands aren’t steady.
Answer: For most mature eyes, gel liners and smooth, waxy pencils are the easiest to work with.
They glide on without tugging, give soft definition instead of a harsh line, and usually stay put better than dry pencils or flaky liquids.
If you’re not sure where to start, try a smudge-proof gel or pencil and apply a thin line close to the lashes for a lifted look.
Want More?
I share quick routines, beauty tweaks, and what’s working for me — straight to your inbox. Join the Club and get this free Cheek Shaper Video.


About the Author:
Linda Robison is an anti-aging advisor for women over 40, sharing natural methods, facial exercises, and beauty routines she’s personally tested over the years for smoother, firmer-looking skin. She spent nearly 15 years as an Anti-Aging Health Advisor at the Life Extension Foundation and has been testing facial anti-aging techniques for over 30 years, including training in Carolyn’s Facial Fitness. Her tips have been featured in GB News and Beauty Box Magazine. You can also view her background on LinkedIn. For more everyday tips follow along on Pinterest.
Found this helpful? Tap the 💙 in the bottom right corner
SHARE OR SAVE THIS 💗
SHARE OR SAVE FOR LATER: